


ESP32-CAM is an embedded module which can be used to stream video data by constructing a local server. The module can be programmed using the Arduino IDE. We usually access ESP32-CAM Video Streaming using the IP address through the local area network. What if you want to access your WebCamServer from anywhere in the world? You must be asking yourself either it is possible or not to access the webserver from any location in the world using the same IP address. So the answer is yes we can access it using a third party service which will route ESP32-CAM IP address from local area network to be accessible anywhere over the internet.
Accessing ESP32-CAM Web Server from anywhere
Now follow these steps to access your Video Streaming from any location.
First, you need to upload code given below to "AI ThinkerESP-32CAM" board and get the IP address and Streaming Server of ESP32-CAM
We are using ngrok service to make Video Streaming accessible from anywhere
Server for Video Streaming
Follow these steps to build a video streaming web server with the ESP32-CAM that you can access on your local network.
Step 1:
Install the ESP32 add-on
In this example, we use the Arduino IDE to program the ESP32-CAM board. So, you need to have Arduino IDE installed as well as the ESP32 add-on. Follow one of the next tutorials to install the ESP32 add-on, if you haven’t already.
Step 2:
Video Streaming Code
Follow this tutorial to upload the video streaming code - https://www.elementzonline.com/blog/esp32-cam-video-streaming-face-recognition-tutorial
The relevant instructions in a nutshell.
In your Arduino IDE, go to File > Examples > ESP32 > Camera and open the CameraWebServer example.
Before uploading the code, you need to insert your network credentials in the following variables:
const char* ssid = "REPLACE_WITH_YOUR_SSID";
const char* password = "REPLACE_WITH_YOUR_PASSWORD";
Comment all the camera model fines and uncomment the following line
#define CAMERA_MODEL_AI_THINKER
Now, the code is ready to be uploaded to your ESP32
Step 3:
Upload the code to the ESP32 CAM
To upload the code, follow the next steps:
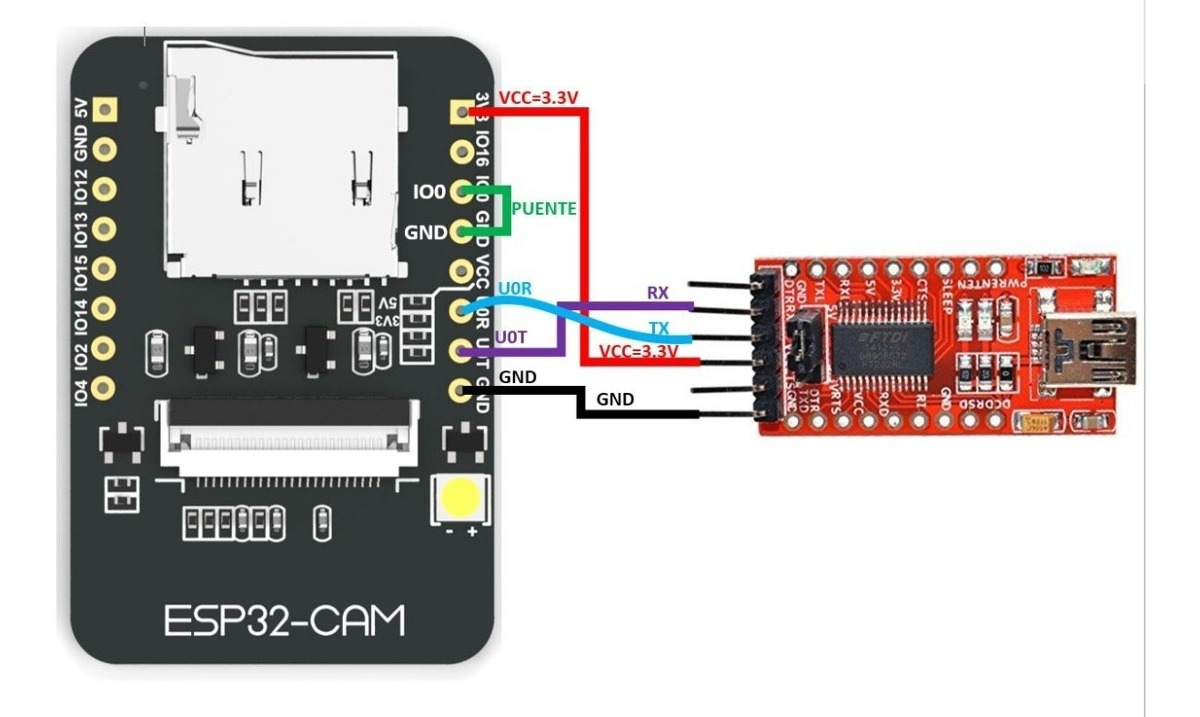
Important: GPIO 0 needs to be connected to GND so that you’re able to upload code.
To upload the code, follow the next steps:
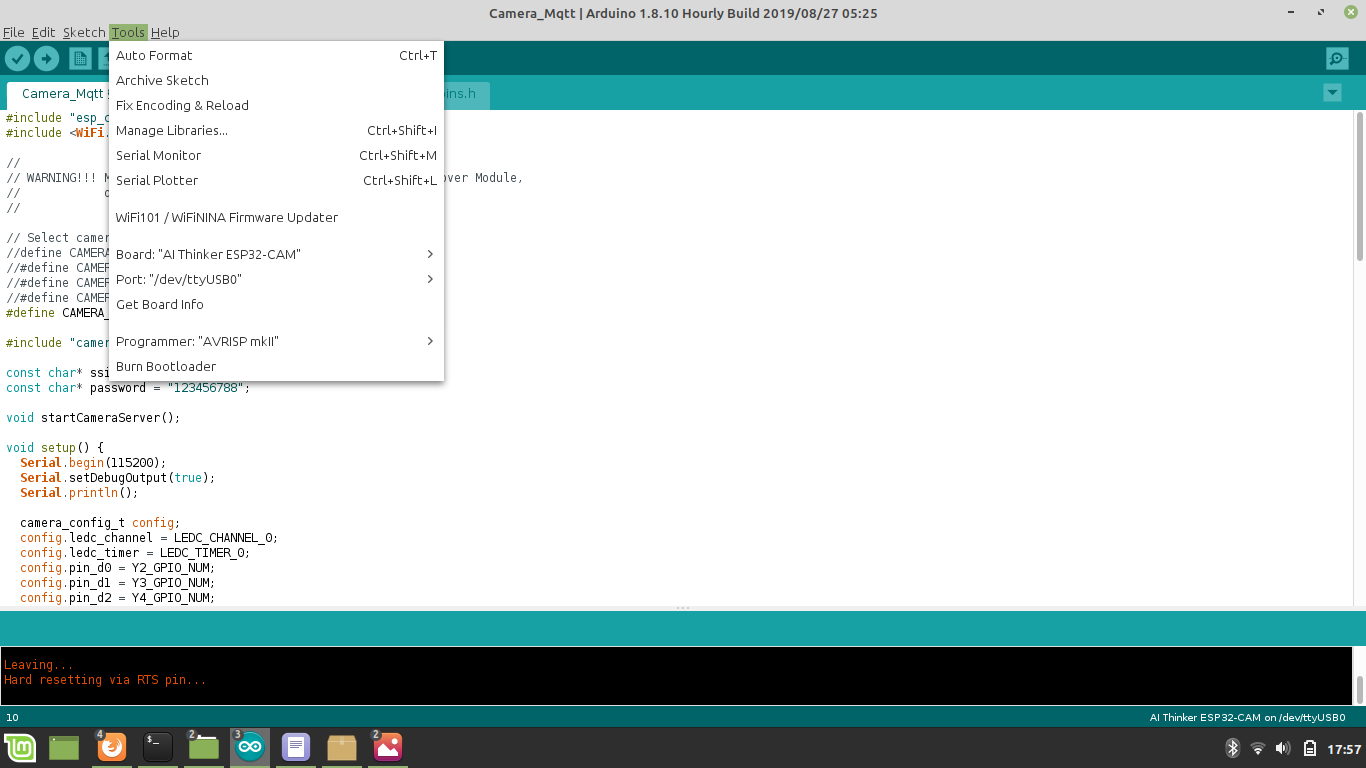
- Go to Tools > Board and select ESP32 Wrover Module
- Go to Tools > Port and select the COM port the ESP32 is connected to
- In Tools > Partition Scheme, select “Huge APP (3MB No OTA)“
- Press the ESP32-CAM on-board RESET button
- Then, click the upload button to upload the code
Important: If you can’t upload the code, double-check that GPIO 0 is connected to GND and that you selected the right settings in the Tools menu.
Step 4:
Getting the IP address
After uploading the code, disconnect GPIO 0 from GND.
Open the Serial Monitor at a baud rate of 115200. Press the ESP32-CAM on-board Reset button.
The ESP32 IP address should be printed in the Serial Monitor.
StreamingPort:81
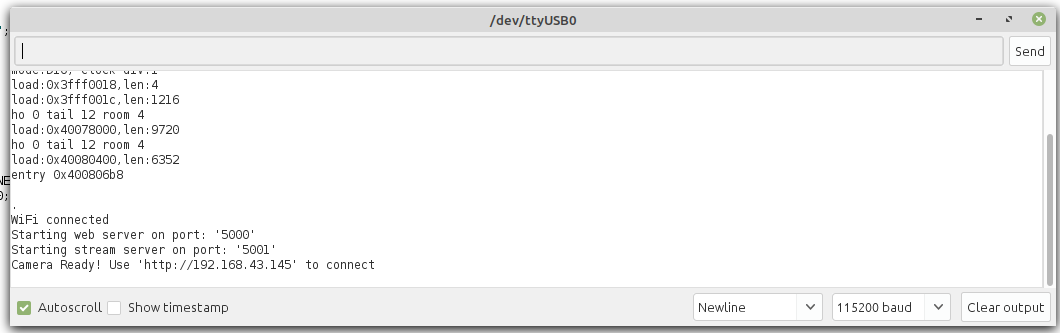
Make sure that the stream is working, by typing http://192.168.43.145:81/stream in a webbrowser.
Step 5:
Using ngrok tunnel service
You can use a free service known as ngrok which is used as a tunnel to create this feature.
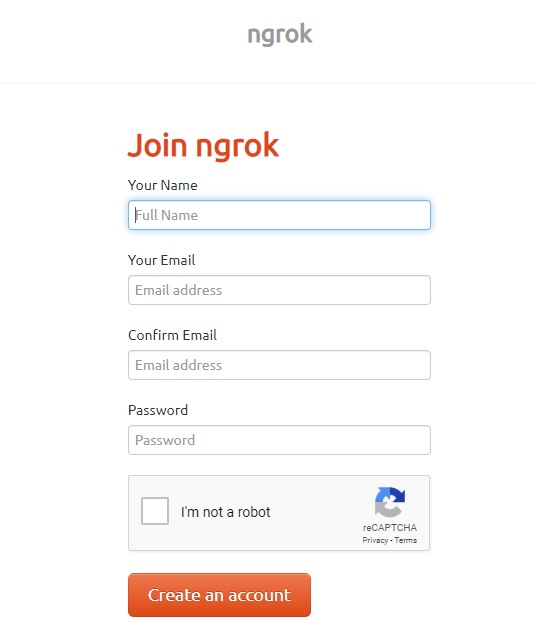
Go to this link and make your account using your email address. Fill the required details and click on the signup button.
- After signing up for the account, go to your email address and activate your account by clicking on the activation link.
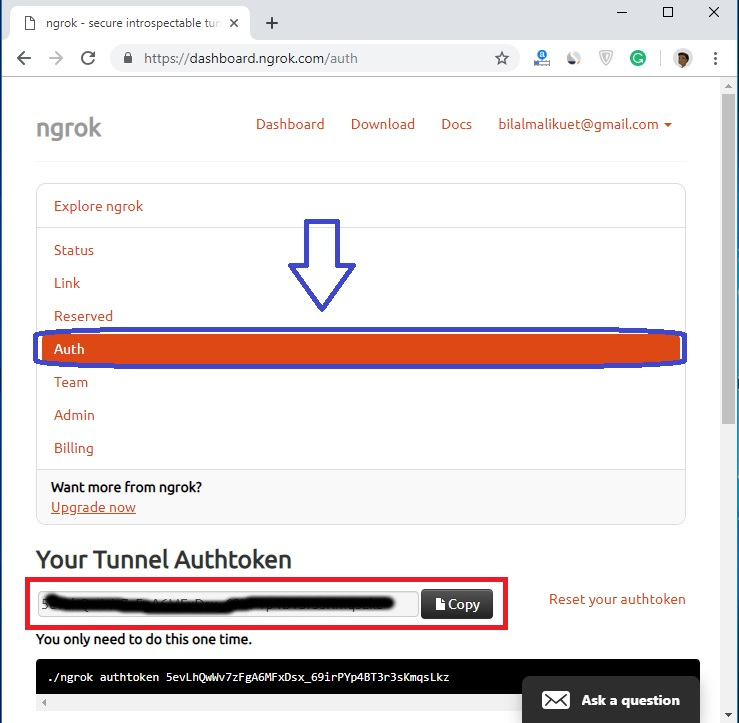
- Now login to your account and click on the ‘Auth’ button’ to get your Tunnel Authtoken as shown in the figure below. Copy this Tunnel Authtoken, we will need it later on.
Step 6:
Python Program to create the ngrok tunnel
Use the python program from the following link
https://github.com/elementzonline/RaspberryPi-Sample-Codes/blob/master/ngrok_mqtt.py
Before running ngrok_mqtt.py program make sure to change the AuthToken in code
ngrok.set_auth_token("NGROK_AUTH_TOKEN") //Replace "NGROK_AUTH_TOKEN" with your corresponding Registered AuthToken
and change the ESP32-CAM IP address
public_url = ngrok.connect("http://192.168.43.145:5001")
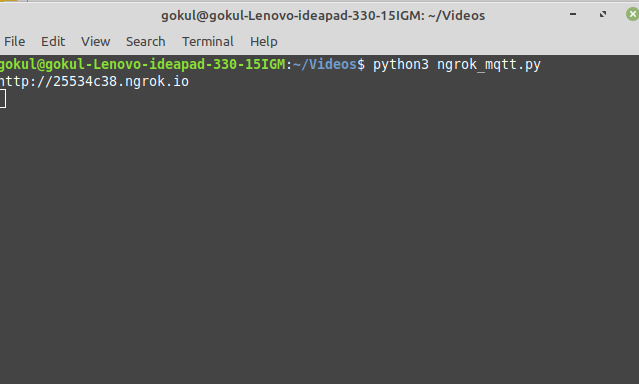
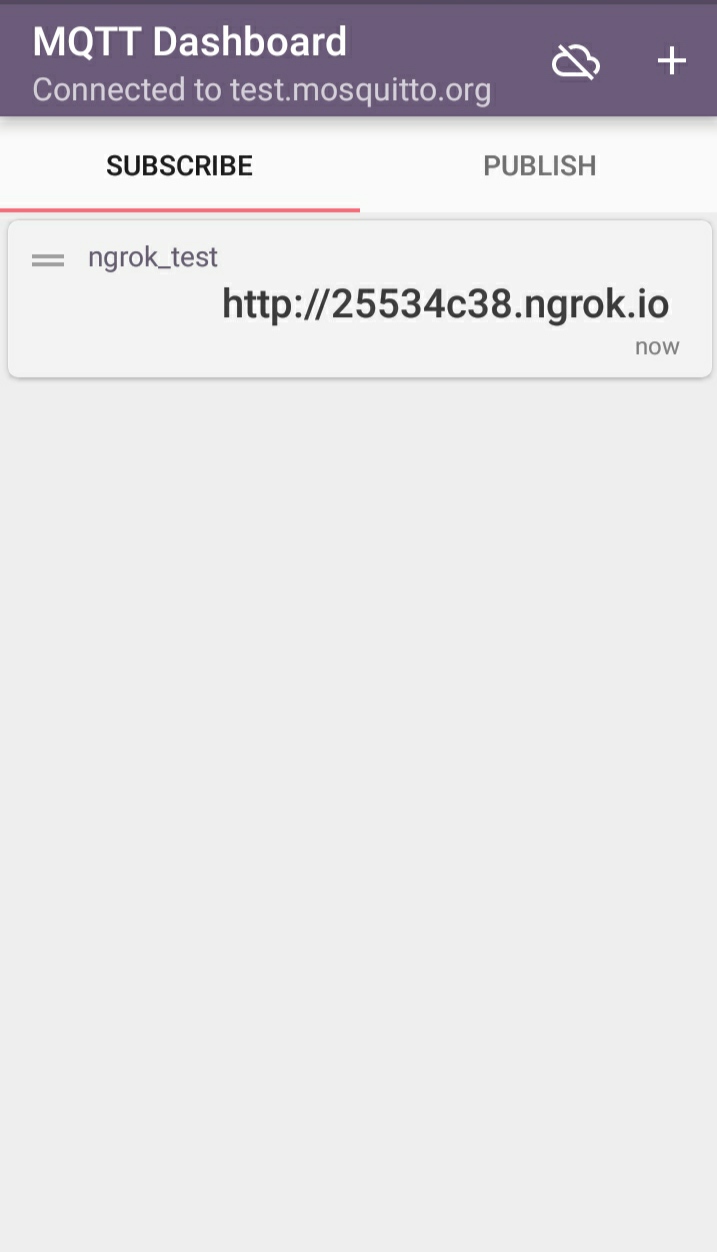
After running ngrok_mqtt.py,desired ngrok url would be seen on your MQTT Dashboard
Step 7
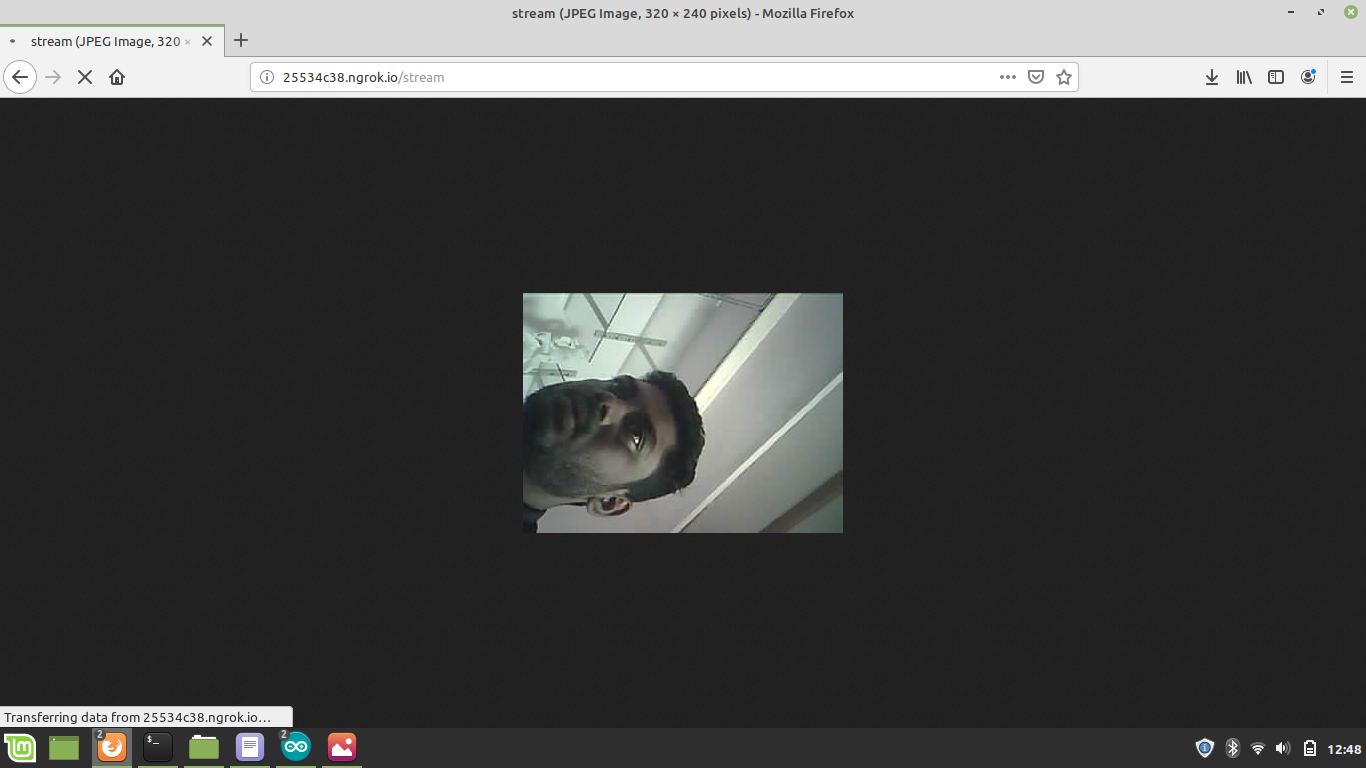
Viewing the remote stream
Now, you can access your Video Streaming with the format "NGROKURL/stream".Open a browser and paste the NGROK URL will start your Video Streaming
In this Tutorial,"http://25534c38.ngrok.io" is the generated NGROKURL.So we paste the link "http://25534c38.ngrok.io/stream" in the Browser to access the Video Streaming server
Important: ngrok_mqtt.py and ESP32-CAM CameraWebServer should be on same network

