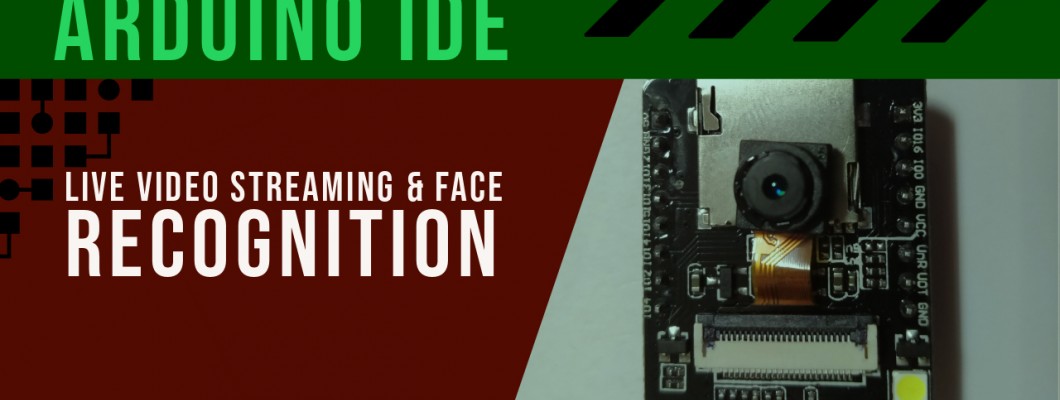
ESP32-CAM is an embedded module which can be used to stream video data by constructing a local server. The module can be programmed using the Arduino IDE. We can set up a video streaming web server with face recognition and detection in less than 5 minutes!
Video Tutorial for Reference
You can watch the video tutorial for more detailed information or keep reading this page for the written instructions.
Things you Need
To follow this tutorial you need the following components:
- ESP32-CAM
- CP2102 Programmer
- Female-to-Female jumper wire
Introducing the ESP32-CAM
The ESP32-CAM is a very small camera module with the ESP32-S chip that costs approximately $10. Besides the OV2640 camera and several GPIOs to connect peripherals, it also features a microSD card slot that can be useful to store images taken with the camera or to store files to serve to clients.
The ESP32-CAM doesn’t come with a USB connector, so you need a CP2102 programmer to upload code through the U0R and U0T pins (serial pins).
Features
Here is a list with the ESP32-CAM features:
- The smallest 802.11b/g/n Wi-Fi BT SoC module
- Low power 32-bit CPU, can also serve the application processor
- Up to 160MHz clock speed, summary computing power up to 600 DMIPS
- Built-in 520 KB SRAM, external 4MPSRAM
- Supports UART/SPI/I2C/PWM/ADC/DAC
- Support OV2640 and OV7670 cameras, built-in flash lamp
- Support image WiFI upload
- Support TF card
- Supports multiple sleep modes
- Embedded Lwip and FreeRTOS
- Supports STA/AP/STA+AP operation mode
- Support Smart Config/AirKiss technology
- Support for serial port local and remote firmware upgrades (FOTA)
Server for Video Streaming
Follow the next steps to build a video streaming web server with the ESP32-CAM that you can access on your local network.
1. Install the ESP32 add-on
In this example, we use the Arduino IDE to program the ESP32-CAM board. So, you need to have Arduino IDE installed as well as the ESP32 add-on. Follow one of the next tutorials to install the ESP32 add-on, if you haven’t already.
2. CameraWebServer Example Code
In your Arduino IDE, go to File > Examples > ESP32 > Camera and open the CameraWebServer example.
Before uploading the code, you need to insert your network credentials in the following variables:
const char* ssid = "REPLACE_WITH_YOUR_SSID";
const char* password = "REPLACE_WITH_YOUR_PASSWORD";
Then, make sure you select the right camera module. In this case, we’re using the AI-THINKER Model.
So, comment on all the other models and uncomment this one:
#define CAMERA_MODEL_AI_THINKER
Now, the code is ready to be uploaded to your ESP32
Upload the code to the ESP32 CAM
Connect the ESP32-CAM board to your computer using a CP2102 programmer. Follow the next schematic diagram:
To upload the code, follow the next steps:
Important: GPIO 0 needs to be connected to GND so that you’re able to upload code.
To upload the code, follow the next steps:
- Go to Tools > Board and select ESP32 Wrover Module
- Go to Tools > Port and select the COM port the ESP32 is connected to
- In Tools > Partition Scheme, select “Huge APP (3MB No OTA)“
- Press the ESP32-CAM on-board RESET button
- Then, click the upload button to upload the code
Important: If you can’t upload the code, double-check that GPIO 0 is connected to GND and that you selected the right settings in the Tools menu.
Getting the IP address
After uploading the code, disconnect GPIO 0 from GND.
Open the Serial Monitor at a baud rate of 115200. Press the ESP32-CAM on-board Reset button.
The ESP32 IP address should be printed in the Serial Monitor.
Accessing the Server
Now, you can access your camera streaming server on your local network. Open a browser and type the ESP32-CAM IP address. Press the Start Streaming button to start video streaming. For instance, the following image shows the IP address used in a browser as 192.168.43.4
You also have the option to take photos by clicking the Get Still button. Unfortunately, this example doesn’t save the photos, but you can modify it to use the onboard microSD Card to store the captured photos.
There are also several camera settings that you can play with to adjust the image settings.
Finally, you can do face recognition and detection.
First, you need to enroll a new face. It will make several attempts to save the face. After enrolling a new user, it should detect the face later on (subject 0).
And that’s it. Now you have your video streaming web server up and running with face detection and recognition with the example from the library.
Note: The face recognition feature can not be viewed in high resolution, better resolution is 320x240.
Important Links:
Video Demo: https://www.youtube.com/watch?v=O-H4qUmx8S4
Purchase Link: https://www.elementzonline.com/esp32-cam-development-board-with-wifi-bluetooth-with-ov2640-camera-module

